

How to Make an AI Cover with Licensed Singer Models
Make an AI cover from a recorded vocal: prepare the take, audition a singer model, and bring the transformed performance back into your arrangement.
By Vocalist.ai Editorial Team · October 21, 2026 · 4 min read
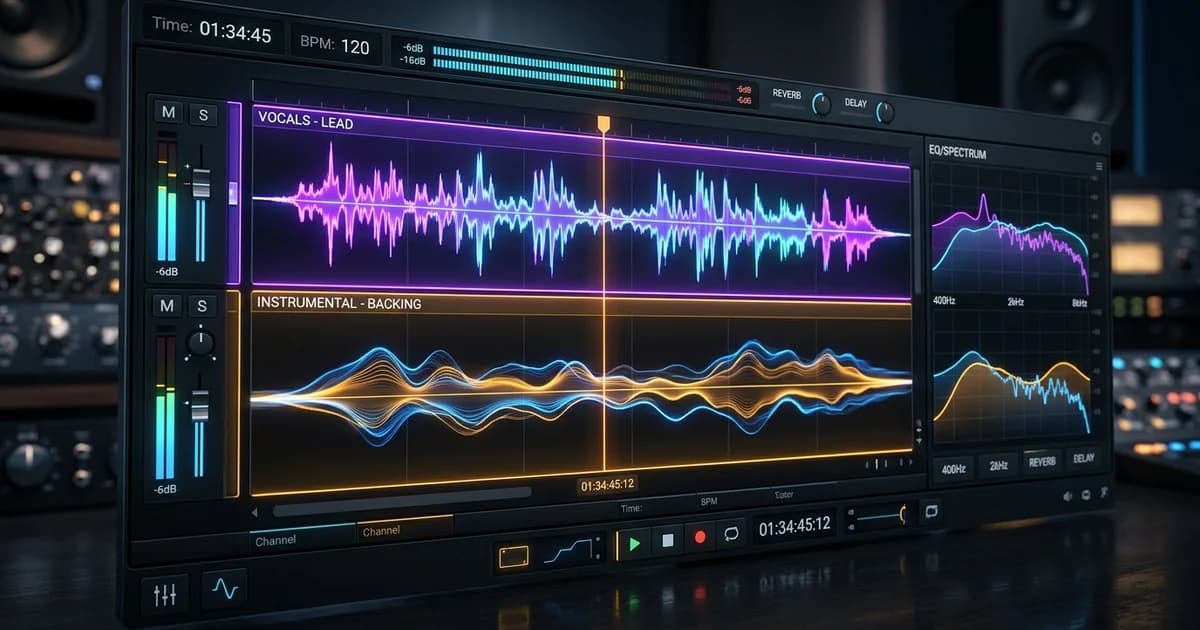
To make an AI cover with recorded-vocal transformation, prepare a solo vocal, choose a singer model, and bring the transformed performance back into your arrangement. You supply the melody, words, and phrasing; the model lets you audition another vocal character.
The simplest route starts with your own vocal and backing: export the guide, audition a singer, compare the preview, and reassemble the track in your DAW. If your starting point is a finished mix, stem separation provides the preparation stage.
Check three separate permission layers
| Layer | What to establish |
|---|---|
| Composition | Permission or a suitable licensing route for the melody and lyrics, including your intended release format |
| Recording | Permission to use any existing master audio, backing track, sample, or stem |
| Voice transformation | Permission to use the model and its output for your intended purpose |
The U.S. Copyright Office explains that compositions and sound recordings are separate works. Recording a new cover and modifying an existing master are not interchangeable licensing situations. Video, rewritten lyrics, remixes, and international releases can raise additional questions. Get advice for your specific use rather than assuming a distributor's cover-song option clears everything.
1. Prepare the backing and lead
If you have a DAW session, export the lead without accompaniment or spatial effects. Export the backing separately from the same bar position. This avoids unnecessary separation and makes alignment easier later.
If you have permission to work from a finished mix, use the dedicated vocal-and-instrumental separation mode. Listen to both outputs. Stacked backing voices can remain in the vocal stem, while remnants of the lead may remain in the instrumental.
The mixed recording used in the existing stem-splitting example.
The instrumental output from that source mix. Listen for any remaining vocal residue.
The examples show the separation stage. The vocal isolation guide covers extraction in more detail.
2. Clean only what needs cleaning
Listen to the solo vocal for reverb, delay, doubled voices, and instrumental bleed. If the original session is available, bypass the effects and re-export. If not, De-Reverb may reduce embedded ambience, but it cannot reliably recover every detail of an untreated performance.
The existing stem-to-transformation pack includes a prepared vocal and its subsequent model transformation:
The supplied De-Reverb output used as transformation input.
The supplied RO5ES render of that prepared vocal, before any cover reassembly shown here.
Do not repeatedly process an increasingly damaged stem. If important words or notes break up, a new recorded guide can be a better starting point.
3. Select the singer and verify the melody
Audition your own phrase with the selected model. Use the range display as a guide, then listen. A model that suits a preview may not suit your register or delivery.
Be careful with Input Pitch Shift. Moving by an octave changes register while keeping pitch classes. Moving by other intervals changes the notes against the backing unless you also adjust the arrangement. Do not use a standard "male-to-female" shift without checking the actual melody and chords.
Tune only if needed. Keep a reference to the original phrasing so you can hear whether correction removes a slide or expression you want.
4. Reassemble the performance in your DAW
Import the transformed file at the same timeline position as the guide. Check entrances and word endings before adding effects. Mute the old lead unless you intentionally want a layered result.
Balance the new voice against the backing, then add EQ, dynamics, and space as needed. The original singer's reverb setting is not automatically right for a different vocal character. Save a version without final limiting so later adjustments remain possible.
5. Compare the finished presentation
Listen from beginning to end with the backing. Check whether the new vocal supports the lyric, whether entrances stay aligned, and whether the effects leave room for the performance. Keep the guide muted in the session so you can return to it for comparison.