

Singing Voice Changer: Change the Voice in Your Recording
Change the vocal character of a recorded singing take. Learn how to prepare the input, choose a singer model, check range, and bring it back into your song.
By Vocalist.ai Editorial Team · October 2, 2026 · 4 min read
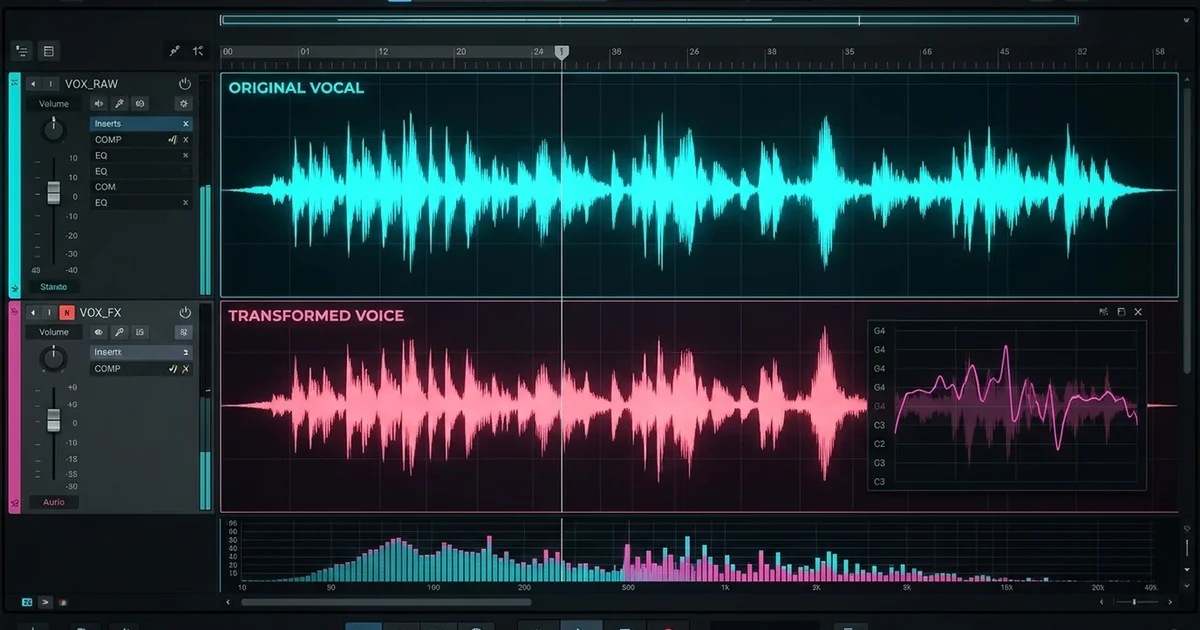
Use a singing voice changer to audition another singer's vocal character on your recorded performance. You supply the melody, words, and delivery; Vocalist.ai transforms the take with a selected singer model.
To change the voice in your recording, export one dry vocal, choose a model, check the melody against its range, generate a preview, and listen to the result against your instrumental. The performance you supply still matters: changing the singer model is not a substitute for getting the notes, words, and phrasing right.
Which kind of voice change do you need?
| Your goal | Appropriate starting point |
|---|---|
| Move the same voice higher or lower | Pitch shifting |
| Correct individual inaccurate notes | Pitch correction |
| Try another singer's vocal character | Recorded-vocal transformation |
| Hear a song written from a prompt | A different tool category |
| Change your microphone in a live game or call | A real-time voice effect, not this workflow |
For the underlying technique, see how singing voice conversion works. Here, the focus is getting one recording through the process without losing track of the song.
Hear a prepared vocal and its subsequent transformation from the supplied R&B example:
The vocal after De-Reverb, before transformation.
The supplied RO5ES transformation of that prepared vocal.
1. Export a vocal the model can follow
Mute the instrumental, backing singers, doubles, and effects returns. Export the lead by itself, with reverb, delay, chorus, and distortion bypassed. Keep an untouched copy of the original session.
Start the export at a known bar boundary. That gives you a clear alignment point when the transformed file returns to your DAW. Leave enough space for the first consonant and the end of the final word; trimming tightly around the waveform can cut off part of the performance.
If your only source is a finished mix, isolate the vocal first. Listen for overlapping singers and instrumental residue before treating that stem as suitable input. Separation is optional preparation, not a requirement for a vocal you already recorded cleanly.
2. Choose a voice by the phrase, not just the preview
Open Transform, browse the available singers, and audition the model previews. Use those previews to shortlist a vocal character, then test your own phrase. A model preview demonstrates somebody else's performance; it does not guarantee the same delivery on your recording.
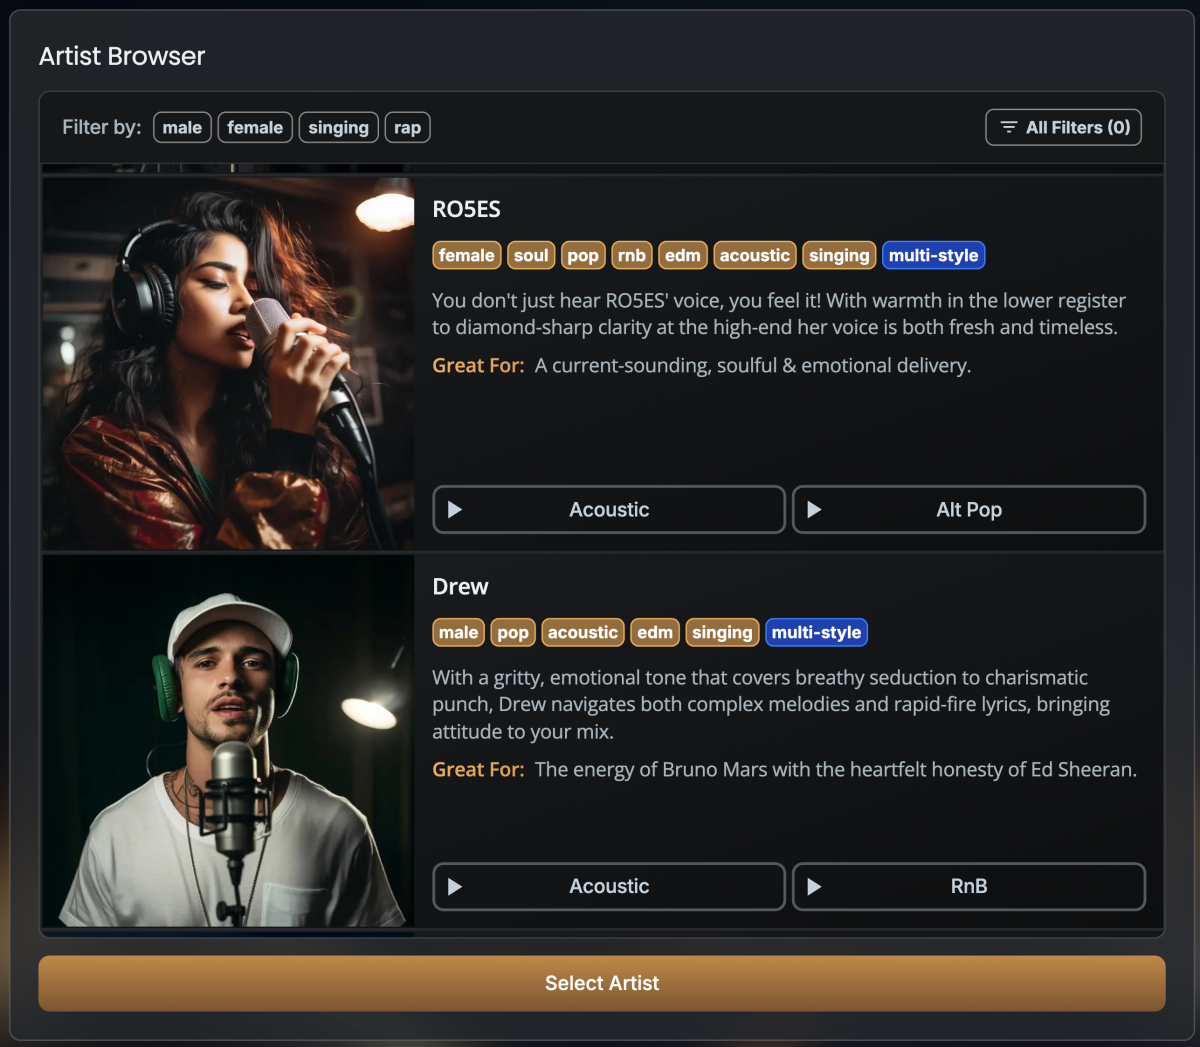
Compare a phrase containing both a sustained vowel and clear consonants. Listen for how the model handles your accent, breathiness, note transitions, and intensity. Keep the source phrase unchanged while comparing singers so you know what changed.
3. Check the range and preserve the harmony
Use the Sweetspot Analyzer to compare your input melody with the selected model's displayed range. Treat it as guidance for auditioning, not a guarantee of quality.
If the melody is a poor match, try another singer before forcing a large transposition. Input Pitch Shift changes the pitches supplied to the transformation. An octave shift preserves pitch classes, although the register changes. A shift of a few semitones changes the melody's relationship to an unchanged backing track.
Do not choose a shift solely because a range display looks better. Play the result with the chords and verify that it is still the melody you intend. Our vocal range guide explains the difference between a song's key and a singer's register.
4. Preview, compare, and change one thing
Follow the first-transformation workflow, then compare the result with your original recording at similar playback levels.
If you want to refine a phrase, compare the same moment in the input and output. Use the AI-vocal troubleshooting checklist to choose the next adjustment rather than changing several controls at once.
5. Return to the song
Import the downloaded result at the original export position. Check the first word, phrase endings, and sustained notes against the backing. Keep the original muted for comparison rather than automatically playing both tracks together; two closely related versions can create unexpected coloration.
Add mix effects after deciding that the transformed performance works. Keep your guide and selected output so you can compare the vocal character as the arrangement develops.